WiFi Hotspot & Captive Portal

Introduction & Prerequisites
OpenWISP is widely used as an open source software solution for WiFi Hotspot Management in Public WiFi settings.
In this tutorial, we'll explain the technical details of the most common WiFi Hotspot deployments and how to test the most important functionalities of this use case on the OpenWISP Demo System.
The OpenWrt firmware image for the OpenWISP Demo System includes a captive portal package called Coova-Chilli. This supports the RADIUS protocol, a standard security protocol used in Accounting, Authorization and Authentication (AAA), a way of authenticating, authorizing, and rate-limiting network usage supported by networking hardware and software.
Warning
Unfortunately, at the moment, installing Coova-Chilli from the OpenWrt
packages will not work because the default configuration of the
Coova-Chilli OpenWrt package does not enable the chilli-redir
feature, nor has SSL support enabled, which will not allow the captive
portal to redirect the user to the captive page and will not support
HTTPs requests.
The OpenVPN package is also required and included in the firmware instructions for the OpenWISP Demo System, as it's needed to facilitate secure communication between the Coova-Chilli captive portal and FreeRADIUS over the Management VPN tunnel. This setup prevents the routing of unencrypted RADIUS packets through the public internet, ensuring security, privacy, and mitigating potential legal risks associated with exposing users' personal information to malicious actors.
Enable Captive Portal Template
Hint
If you don't know what a template is, please see Configuration Templates.
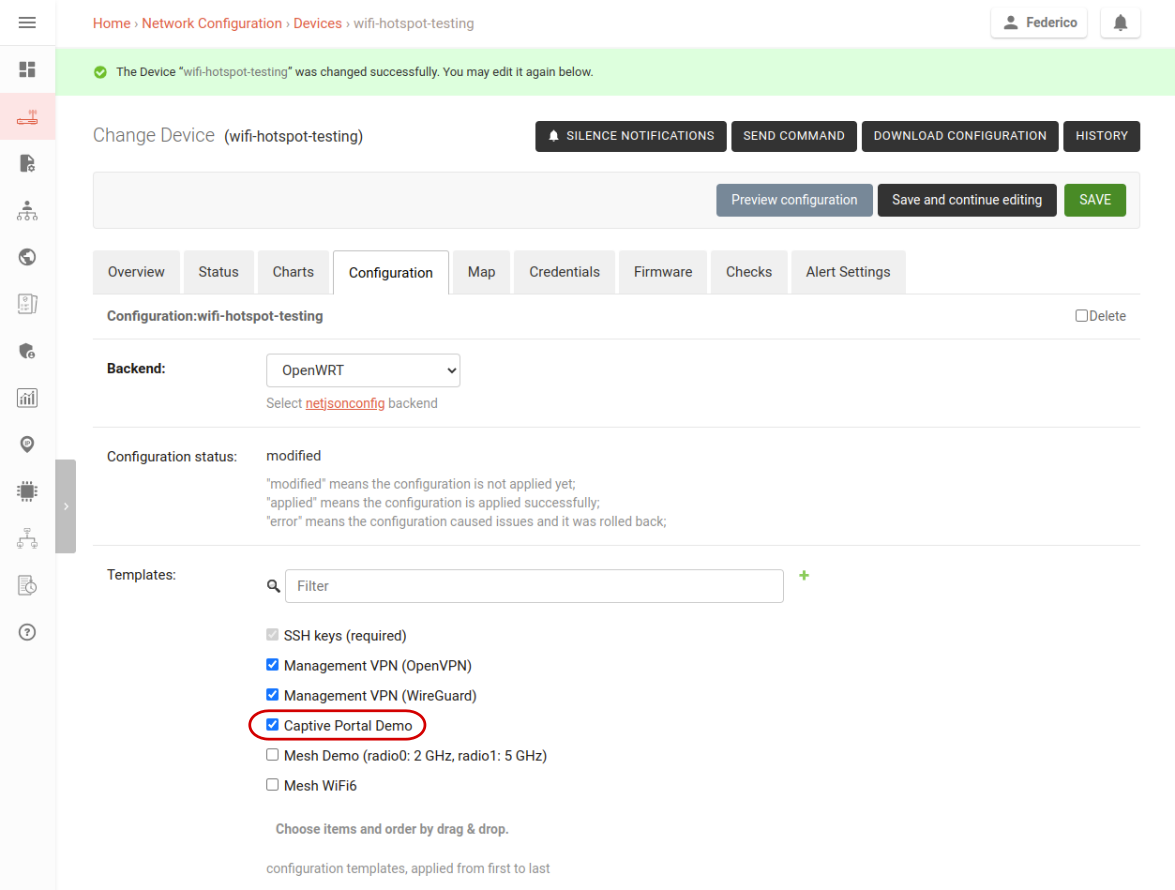
If you flashed the OpenWrt based firmware and registered your device as explained in the OpenWISP Demo Page, proceed to assign the captive portal template to your device:
Go to the device list.
Open the device details.
Click on the configuration tab.
Select the "Captive Portal Demo" template.
Hit "Save".
Then, make sure the OpenVPN management tunnel is working otherwise the captive portal software will not be able to talk to the demo FreeRADIUS server instance.
Shortly after the configuration is applied successfully, the Public WiFi SSID will be broadcast by the access point.
Accessing the Public WiFI Hotspot
Connect your laptop or phone to the SSID "OpenWISP Public WiFi Demo". If everything is working correctly, your operating system should open a browser window showing the captive page as shown in the screenshot above.
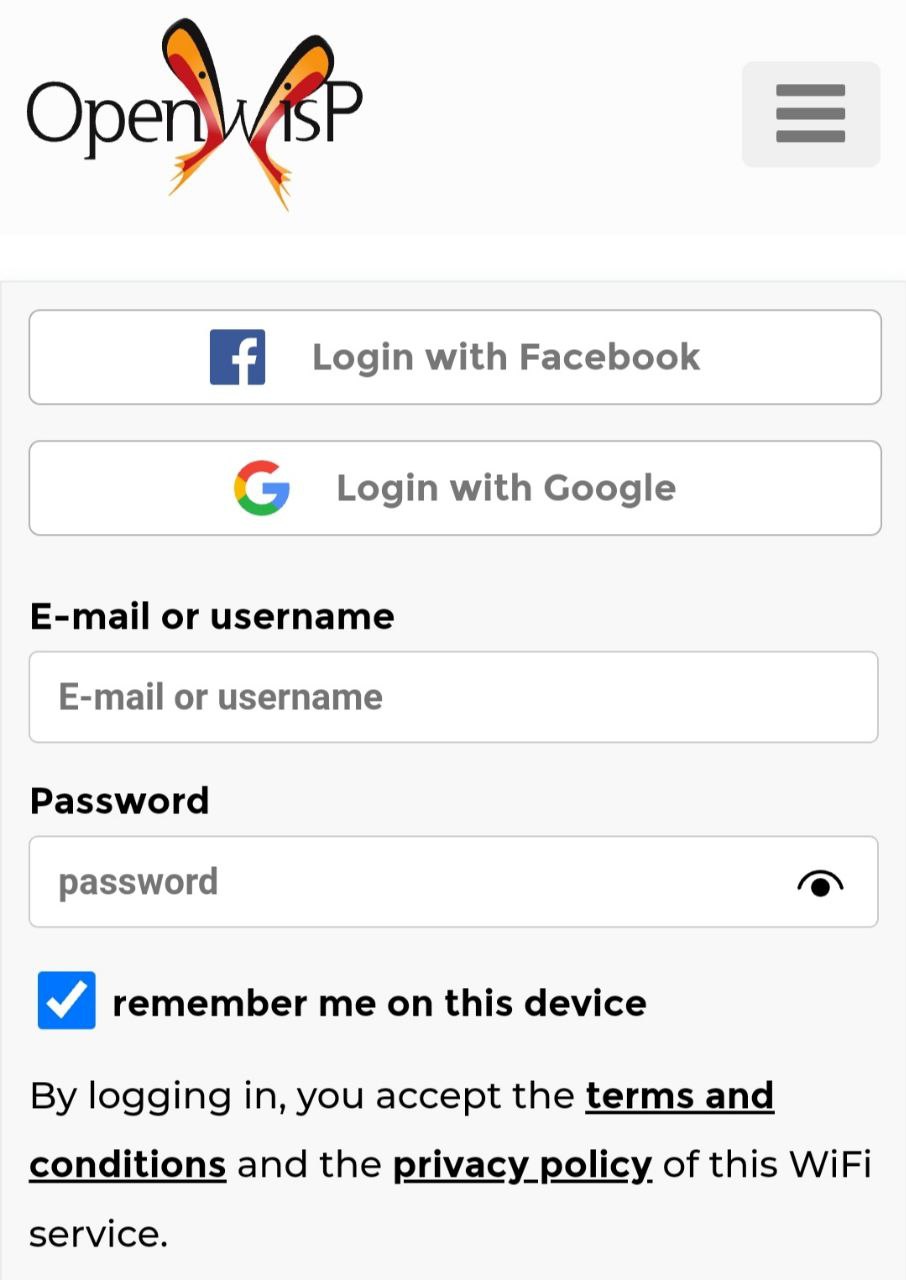
At this point, sign in using the same credentials you used to access the
demo system (demo/tester123).
Note
Trying to surf the internet without authenticating will not work.
Once you've logged in, you'll see a status page as shown in the following screenshot:
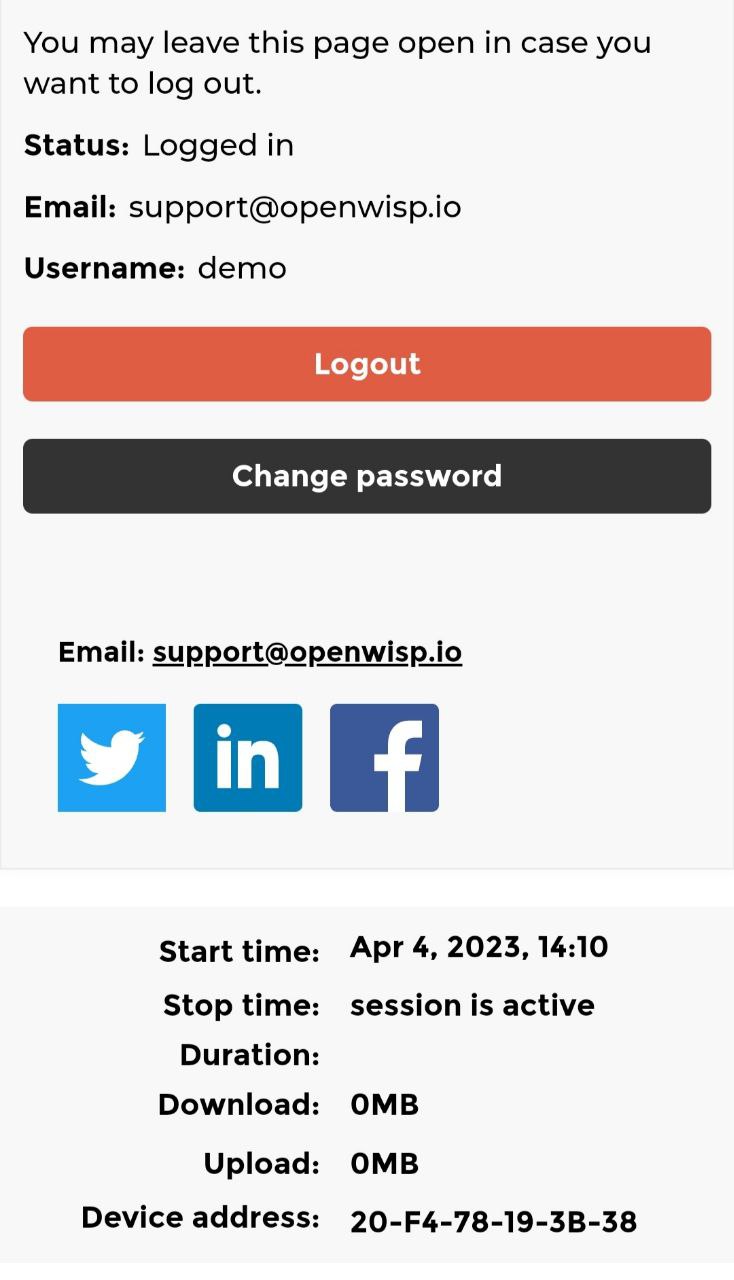
This page communicates that the user can now use the internet provided by the hotspot, it also provides the following features:
It shows a list of the user's sessions, including the start time, stop time, duration, traffic consumed (download and upload), and the MAC address of the device that accessed the WiFi service.
It allows the account password and phone number (if SMS verification is enabled, which is not the case for the demo system) to be changed.
It allows users to close their session and log out (more on why this is useful below).
On some mobile operating systems, the mini-browser automatically closes when switching windows, for example, when opening the real browser to surf the internet. This can be problematic if the user needs to use one of the features of the status page listed above.
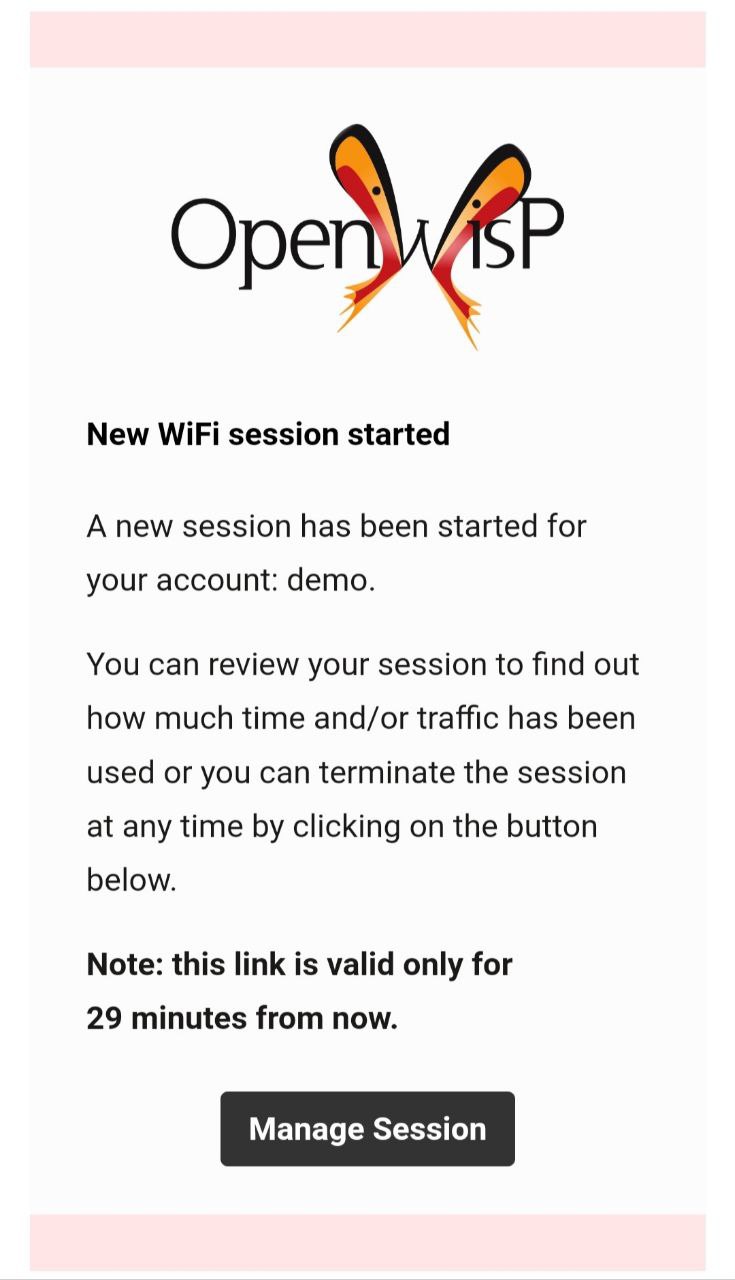
To resolve this, OpenWISP will send an email to the user with a magic link. This will allow the user access to the status page of WiFi Login Pages without entering their credentials again, as shown in the image above.
Note
For more technical information and implementation details about the magic links feature, refer to the related section: openwisp_users.api.authentication.SesameAuthentication.
If you are using the demo account, the email will be sent to the email address linked to the demo account. Therefore, if you want to try this feature, you will have to sign up for your own account or use the social login feature. Please see more information on this below.
Logging Out
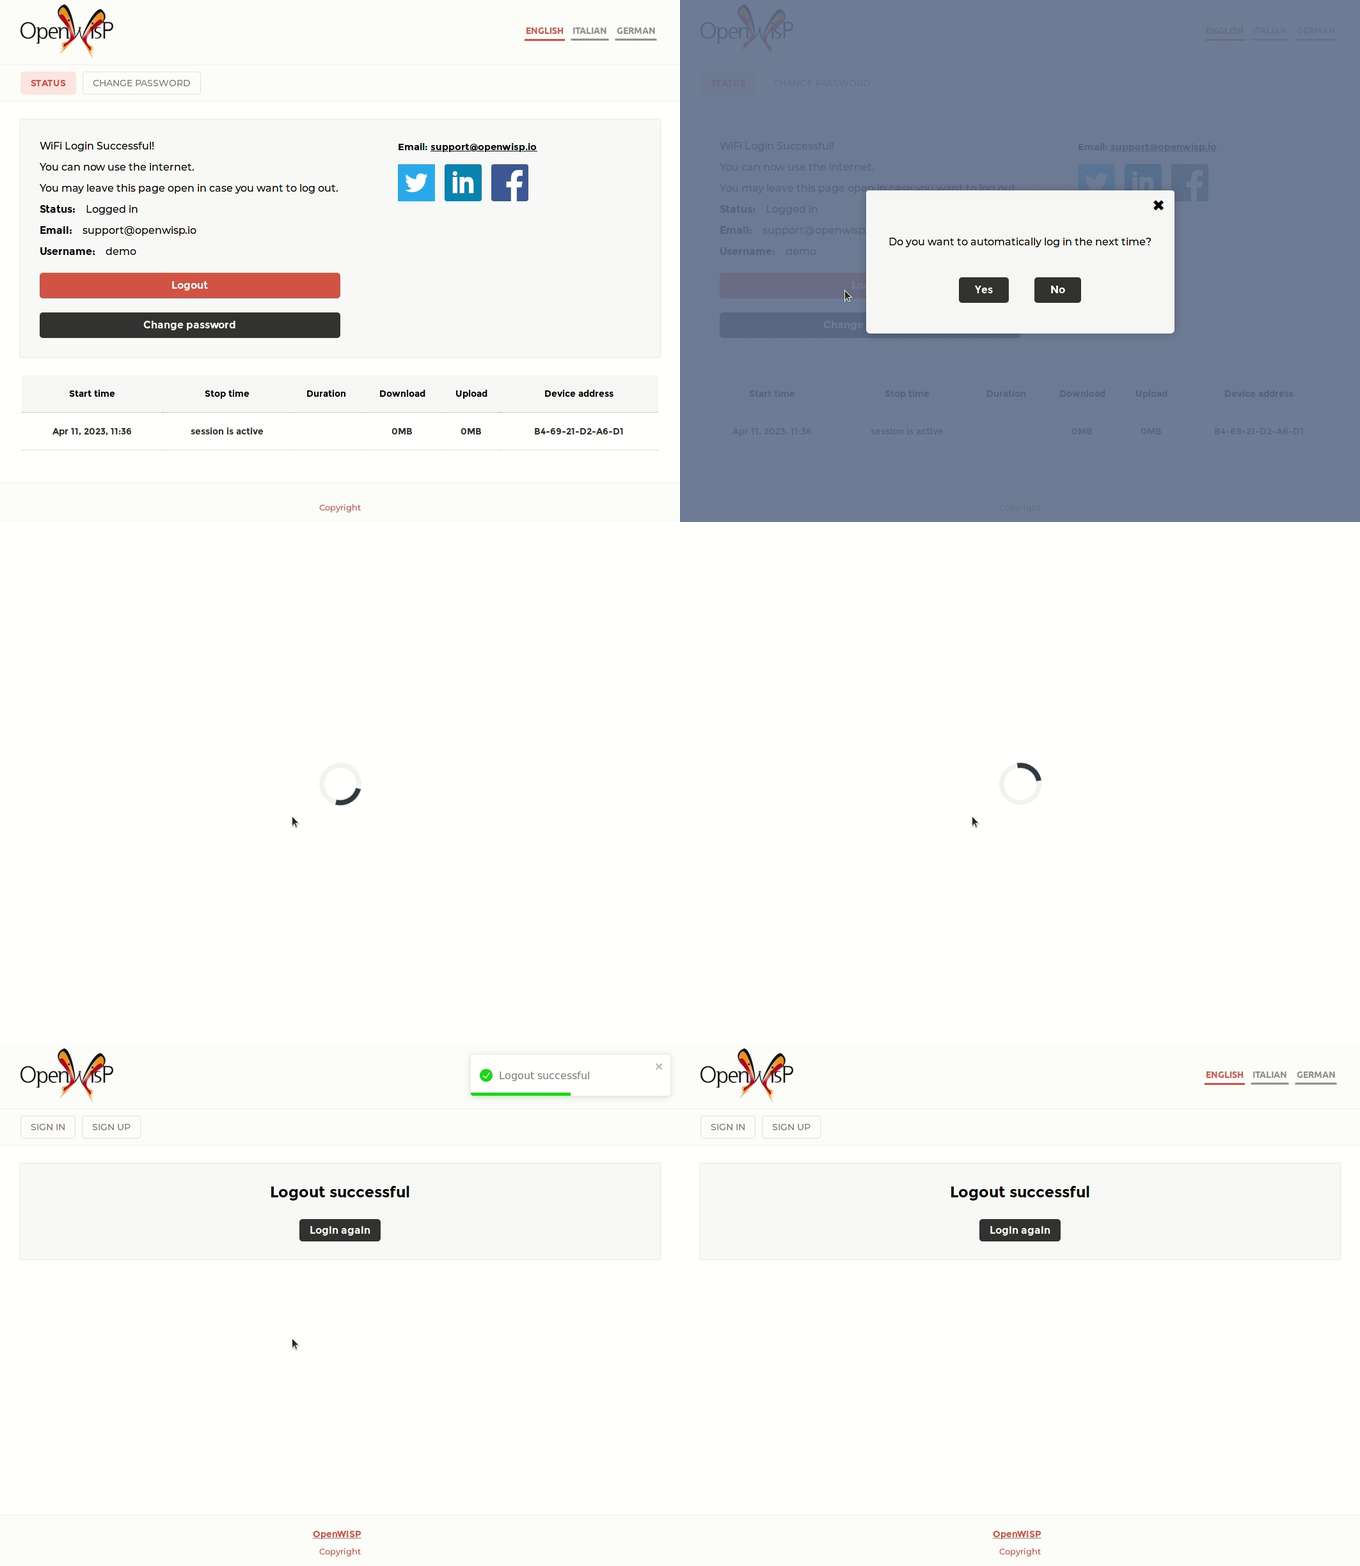
Most WiFi hotspot services have limitations in place that do not allow users to browse indefinitely.
Some services only allow surfing for a limited amount of time per day, while others limit the amount of data you can consume. Some services use a combination of both methods and when either the daily time or data limit is reached, the session is closed.
Therefore, users who plan to use the service again later on the same day, should log out to avoid consuming their daily time and/or data.
Session Limits
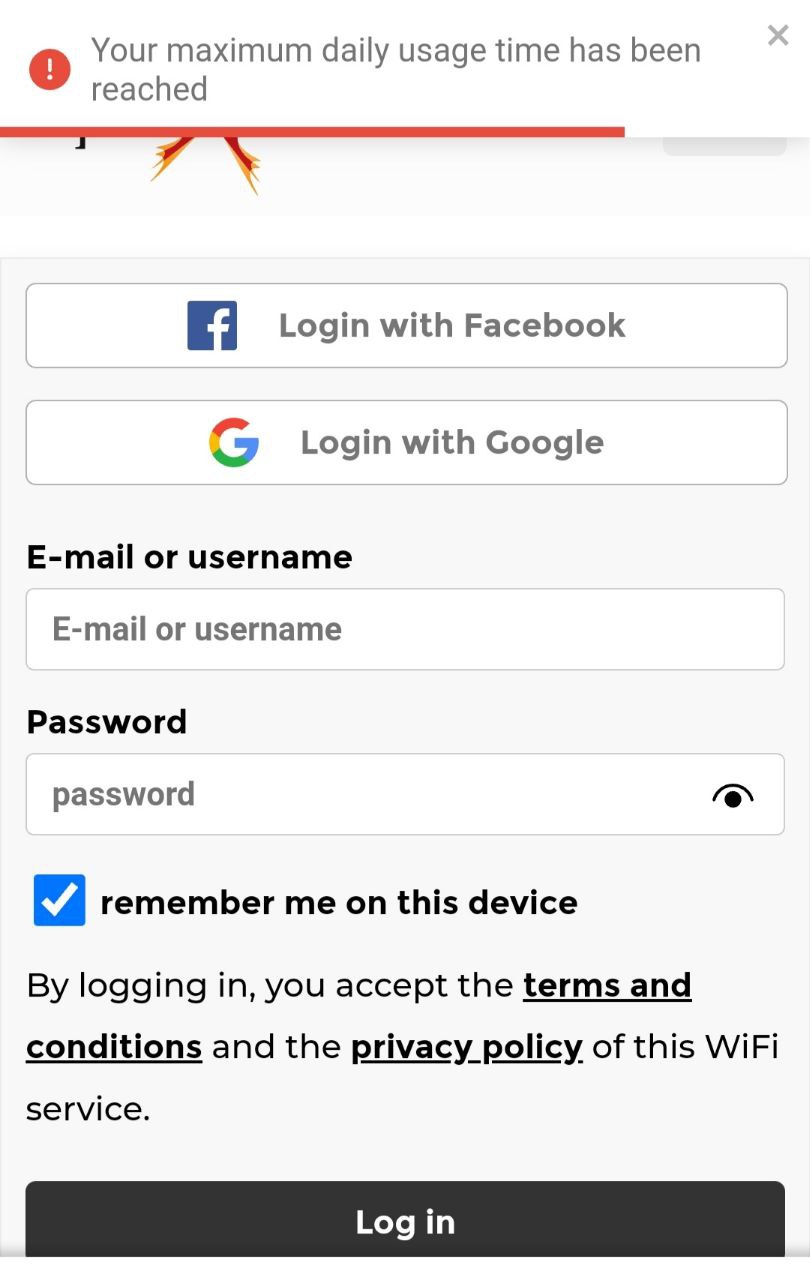
The default session limits in the OpenWISP RADIUS configuration are 300 MB of daily traffic or three hours of daily surfing.
Note
To find out more technical information about this topic please read: OpenWISP RADIUS - Enforcing session limits.
Automatic Captive Portal Login
The WiFi Login Pages application. allows users who have logged in previously, and who use a browser which supports cookies (not all mini-browsers that are used for captive portal logins do), to automatically log in without entering their credentials again.
The video below demonstrates this feature:
Sign Up

To sign up for the WiFi hotspot demo, select the free plan and enter dummy data (this data is deleted every day). However, it is recommended that you enter a real email address so that you can test features that require receiving emails, such as email confirmation, password reset, and the "WiFi session started" notification.
Note
The sign up process uses the OpenWISP RADIUS REST API under the hood.
Paid WiFi Hotspot Subscription Plans
Testing the WiFi hotspot paid subscription plans is easy, the demo system is configured to use the Paypal Sandbox, a test version of Paypal with unlimited fake money, which allows users to test the feature at any time without incurring any costs.
Follow these steps to try the paid WiFi subscription feature:
Sign up for one of the non-free plans.
Enter your real email address and dummy personal information.
Click "Proceed with the payment."
Enter the following Paypal credentials:
support@openwisp.io/tester123and click on "start session".Choose to pay with Paypal balance and click "Continue to Review Order."
After following the steps above you will be logged in to the WiFi service and redirected to the status page, from then on you can surf the web.
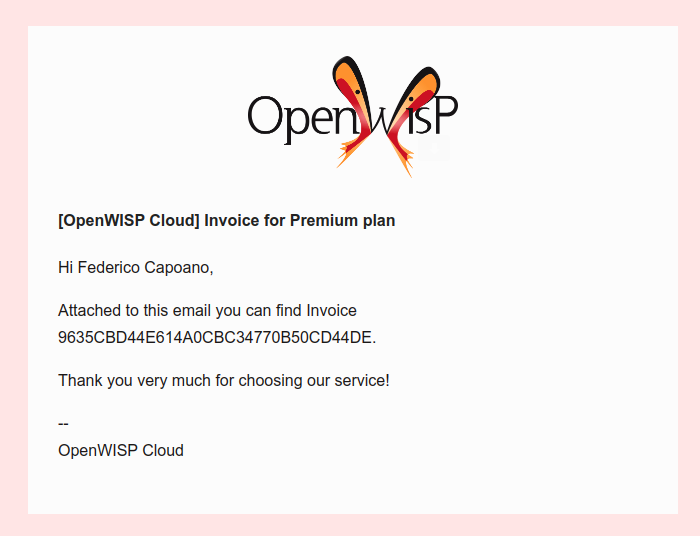
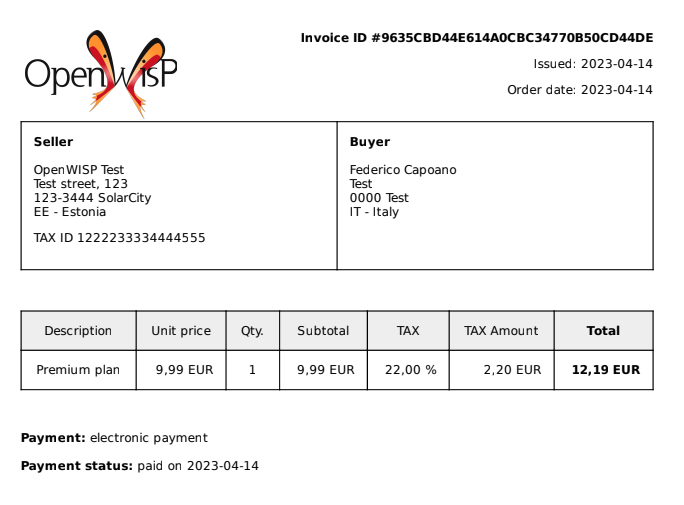
You should also receive a test invoice via email as in the screenshots below.
Social Login
Another way to sign up for a free WiFi hotspot account is to use social login. Simply click on one of the social login buttons to initiate the process.
Please note that your personal data is stored for less than 24 hours, as the demo system is reset every day.
Note
For more technical information about social login, please read OpenWISP RADIUS - Social Login