Quick Start Guide
This page explains how to deploy OpenWISP using the docker images provided by Docker OpenWISP.
Available Images
The images are hosted on Docker Hub and GitLab Container Registry.
Auto Install Script
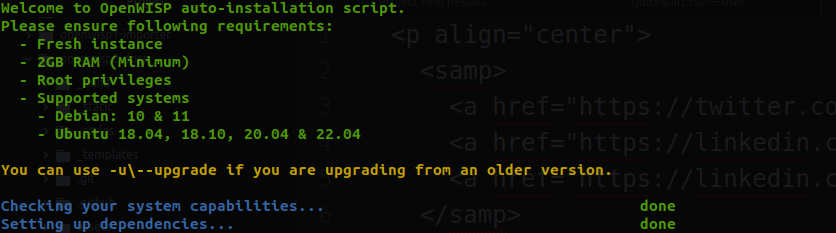
The auto-install script can be used to quickly install an OpenWISP instance on your server.
It will install the required system dependencies and start the docker containers.
This script prompts the user for basic configuration parameters required to set up OpenWISP. Below are the prompts and their descriptions:
OpenWISP Version: Version of OpenWISP you want to install. If you leave this blank, the latest released version will be installed.
.env File Path: Path to an existing ".env" file file if you have one. If you leave this blank, the script will continue prompting for additional configuration.
Domains: The fully qualified domain names for the Dashboard, API, and OpenVPN services.
Site Manager Email: Email address of the site manager. This email address will serve as the default sender address for all email communications from OpenWISP.
Let's Encrypt Email: Email address for Let's Encrypt to use for certificate generation. If you leave this blank, a self-signed certificate will be generated.
Important
The Docker OpenWISP installation responds only to the fully qualified
domain names (FQDN) defined
in the configuration. If you are
deploying locally (for testing), you need to update the /etc/hosts
file on your machine to resolve the configured domains to localhost.
For example, the following command will update the /etc/hosts file
to resolve the domains used in the default configurations:
echo "127.0.0.1 dashboard.openwisp.org api.openwisp.org openvpn.openwisp.org" | \
    sudo tee -a /etc/hosts
Run the following commands to download the auto-install script and execute it:
curl https://raw.githubusercontent.com/openwisp/docker-openwisp/master/deploy/auto-install.sh -o auto-install.sh
sudo bash auto-install.sh
The auto-install script maintains a log, which is useful for debugging or checking the real-time output of the script. You can view the log by running the following command:
tail -n 50 -f /opt/openwisp/autoinstall.log
The auto-install script can be used to upgrade installations that were originally deployed using this script. You can upgrade your installation by using the following command
sudo bash auto-install.sh --upgrade
Note
If you're having any installation issues with the
latestversion, you can try auto-installation with theedgeversion, which ships the development version of OpenWISP.Still facing errors while installation? Please read the FAQ.
Using Docker Compose
This setup is suitable for single-server setup requirements. It is quicker and requires less prior knowledge about OpenWISP & networking.
Install requirements:
sudo apt -y update
sudo apt -y install git docker.io make
# Please ensure docker is installed properly and the following
# command show system information. In most machines, you'll need to
# add your user to the `docker` group and re-login to the shell.
docker info
Setup repository:
git clone https://github.com/openwisp/docker-openwisp.git
cd docker-openwisp
Configure:
Please refer to the Settings and Advanced Customization pages to configure any aspect of your OpenWISP instance.
Make sure to change the values for essential and security variables.
Deploy:
Use the
make startcommand to pull images and start the containers.Note
If you want to shutdown services for maintenance or any other purposes, please use
make stop.
If you are facing errors during the installation process, read the FAQ for known issues.